Mousepad
English Deutsch
If we are already working on it, we can make equivalent further or? So at least our foreign exchange. Strengthened by various
links on www.moddingfaq.de
brought us a lot of other ideas, e.g. a "Glowpad" or the lightning Mousepad.
We still must have such a Pad! Best with a metal plate or something else. But there we do not know yet which we
can take. Still another open decision. We will see.
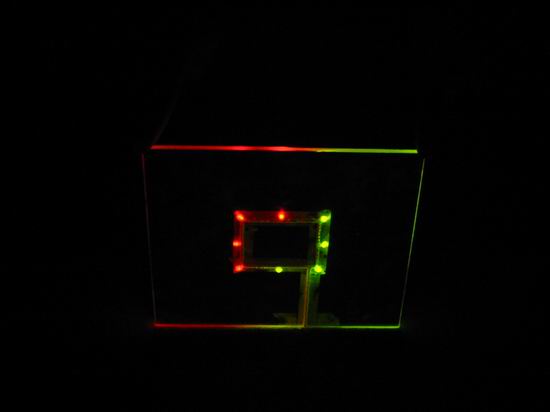
But first to the project "lightning Mousepad".
In the reason it is (meanwhile) a "small" Mod. We needed only one plexiglass disk in approximate Mousepad size and a few LED plus pre-resistor. A suitable cover would be e.g. the
best mousepad you´ve got. Those added are no problem - i hope. We found some cheap plexiglass in the building market in the remainder ton for narrow cash to
"take away". Beautifully.
8 pcs. 3 mm LED´s
2 pcs. pre-resistors
1 pcs. plexiglass
1 pcs. Wire, nice looking
an old videorecorder housing (or a pcs. ov metal)
Dremel and a lot of Cut-Off Wheels
Files, sandpaper of different strength
Polishing paste
Soldering iron
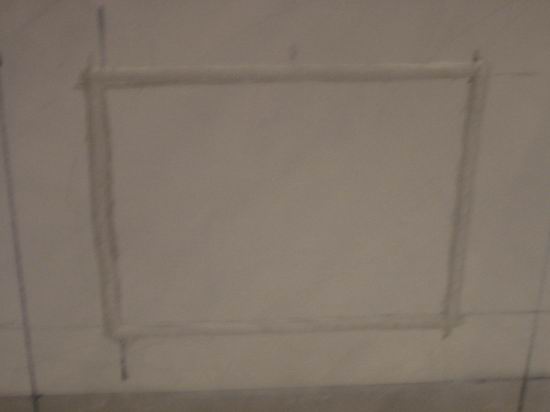
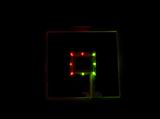
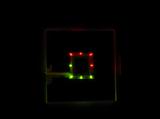
As first we cut the plexiglass disk fairly in the center *g*.
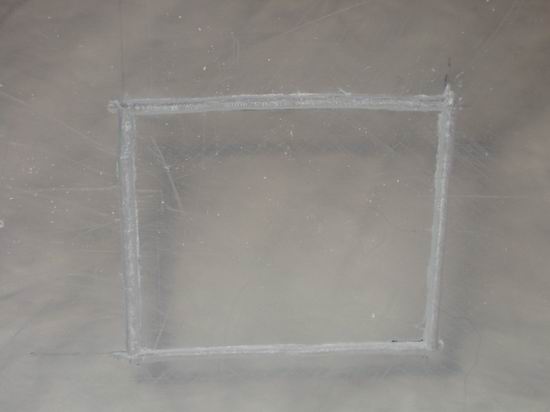
After we sanded off the edges and dremelt out the channels for the LED's and for the inlet cable. For this we have an LED again and again taken over only as deeply as necessarily cutting the plexiglass. After
dremeld successful we could solder the LED's. In addition I left the LED's simple at its workstation in the
dremeld recesses and soldered the wires on point for point. I soldered the resistance
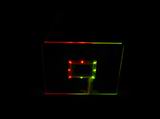
above then as cable termination. So far so well. First test runs resulted in a satisfying result. Thus it could go further. We
had to fill the channels with hotglue maskinged with tape around a safe and permanently protected connection. To
get good stoppers i put a medium sized drop of hotglue onto the corner of the
Pad. I had to state that hotglue is suitable extraordinarily well for it! The Pad
glues almost on the desk - slip is no longer conceivable!
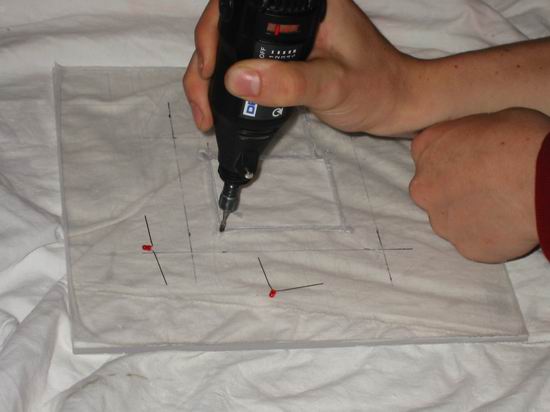
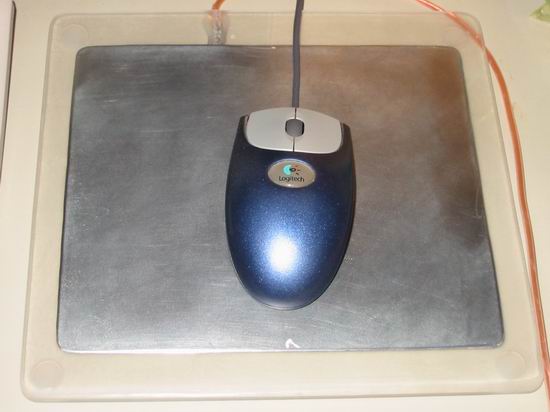
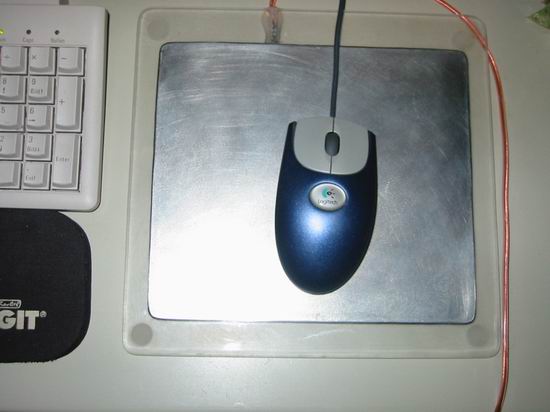
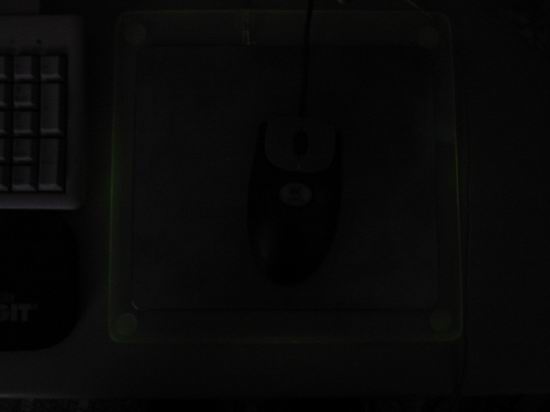
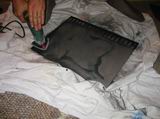
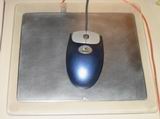
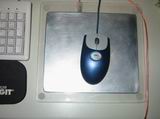
After the Pad was times finished so far, we looked for a suitable surface for the mouse. Crachmacher had there still another old videorecorder
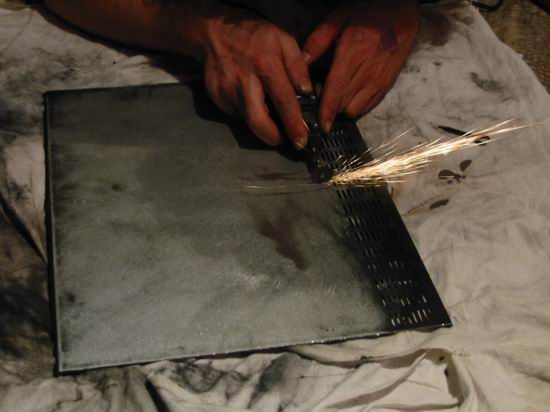
which he needs no longer (damaged one). And the cover was made of all-finest metal *g*.
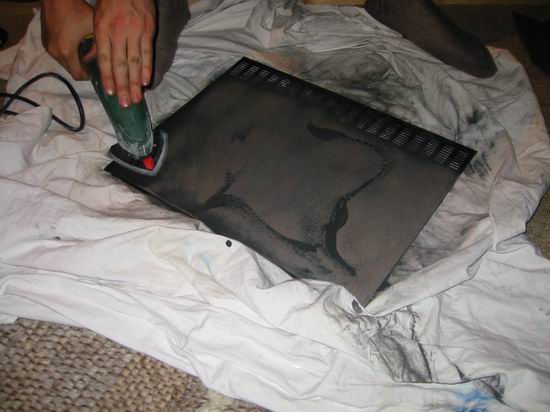
Which was situated more near than use the cover? Said, done. After one hour the cover was so far
made that we only had to polish it. Then we stuck it together with double-sided carpet tape. Naturally also different adhesives are conceivable.
However I wanted to be able to down-take the metal Pad if necessary ( to be able to repolish it).
Then the inlet was to. After a little searching in my tinkering crate I found a beautiful
copperlooking Cinchcable, which makes the Pad itself extraordinarily beautiful. Thus
was soldered on and the Pad tested.
 |
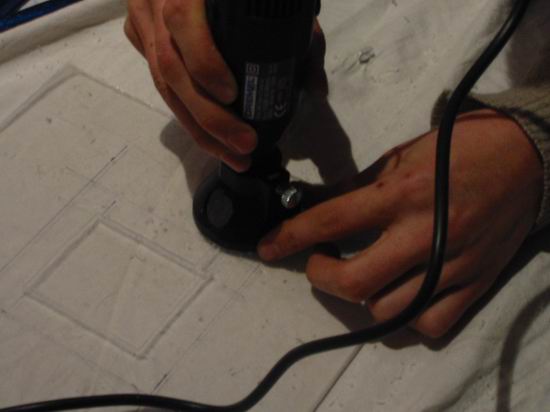
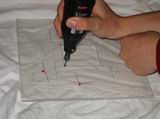
We processed the plexiglass drawn and drilled with the Dremel. We processed the channels with the friction disk. The drill made too much noise. |
 |
 |
 |
 |
| | |
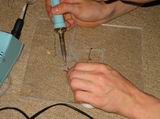 |
The soldering aktion. First we milled the recesses with the Dremel, used and
solderd then the diodes. Then evenly still soldered the resistance and the Pad was finished for testing! |
| | |
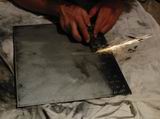
| The poor video recorder was genuinly tormented by us! Here you see the former cover with splitting and sand off. Should look beautifully bright! |
 |
 |
| | |
 |
 |
 |
 |
 |
 |
Happy Modding,
hartwareguru